Once you have harvested your high value crop, it is important to properly trim, dry and cure it. You can also change the order up and dry, trim, and cure it depending on what you want to do. There are advantages and disadvantages to both methods, and there are growers on both sides of this who have their preferences. Trimming before drying is “wet” trimming; trimming after drying is “dry” trimming. Knowing what works best in each particular scenario will help you to decide whether to trim dry or wet.
Trimming your harvest is much like preparing a meal. Every “chef” has a different way of arriving at the same goal: a quality product for consumption. Trimming is done by both wet and dry trimmers to remove the excess leaves of all sizes that have lower trichome levels and would cause for a harsher consuming experience if left on. Some steps are practiced by both wet and dry trimmers. Generally, once a branch has been harvested, the larger fan leaves are removed. This will help promote drying for those intending on a dry trim and those trimming wet won’t be keeping those anyway. Let’s look at some of the things that each type of grower does do differently and the pros and cons of each method.
Wet Trimming
When wet trimming, it is important to cut away the larger leaves and stems all the way up to the base of the stem holding the bud as quickly as possible without crushing any of the buds and damaging the trichomes. Leaving any of the smaller leaves around the bud can lead to mold issues while drying. Wet trimming does away with the excess plant mass which improves air circulation around the bud but leaving on any part of the leaves can compromise that. It is recommended to wear latex gloves when wet trimming to keep the resin from sticking to your hands.
Advantages of Wet Trimming
- Wet trimming prevents most incidences of fungal diseases such as botrytis.
- Buds that are wet trimmed have better airflow around them during the drying process since most or all of the leaves have been removed.
- Wet trimming is better for environments that are more on the humid side.
- Extra trimmings are easier to use to make extracts when trimmed wet.
Disadvantages of Wet Trimming
- Buds that are wet trimmed do not always dry evenly. The buds that dry too quickly can develop a “leafy” taste.
- The taste and smell of the consumed product is not as good as when trimming is done after the buds are dry.
- Trichomes are more likely to be damaged by wet trimming.
- Wet trimming leaves more chlorophyll in the leaves which can cause a lasting “grass-like” smell.
Dry Trimming
Most growers tend to favor dry trimming. It can be harder though to distinguish between the bud and the leaves at the base of the bud once dry. Experience will help to identify those. Once harvested, only the largest leaves are removed from the branches. Then they are hung up to dry or places on a drying rack or cart. Once the buds are sufficiently dry, the careful task of pruning away from the bud can begin.
Advantages of Dry Trimming
- The flavor and aroma are generally better preserved with dry trimming.
- Dry trimming is the preferable method when humidity levels are on the low side
- Excess leaves are easier to pick or snap off once dry.
- Generally dry trimming is considered to be “easier” overall as compared to wet trimming.
Disadvantages of Dry Trimming
- It is easier to mistakenly trim or tear part of the bud when they are dry.
- Can be more expensive if humidity levels are high as dehumidifiers will need to be used.
- Buds can dry out too quickly in environments with too many climate control devices running.
There is not universal agreement among growers which way is best. Some will always choose to trim wet, others dry. To complicate matters, some growers will even do their trim halfway through the drying process. Whichever way resonates best for your particular operation, consider these tips from professional growers regardless of when they trim:
- When trimming your buds, always hold them by the branch to remove the excess leaves and stems.
- Set up a screen over which to trim so that trichomes that break off can be collected.
- Trim the leaves around the bottom of the bud (the “crow’s feet”) close, but not so close as to damage the bud.
- The most important piece of advice is to handle your buds with care. Be gentle with them and they will reward you with high quality flavors and aromas.
Drying
Whether or not you are drying your harvest before or after trimming, the process is largely the same. Drying the harvest will help to maintain and preserve its potency, flavor, and even its ability to burn evenly. Differences in drying times and practices vary based on each individual drying environment, the product’s initial moisture content, how many leaves are still attached, size of the buds, and preferences or resources of each individual grower. Regardless of that though, the process has some steps that must be followed for a successful drying period.
The conditions for optimal drying of harvested cannabis are an environment that is dark, warm (64 – 73 F or 18- 23 C) , has a humidity level of 50 to 65 percent, and has good, constant air flow. A thermometer and hygrometer (or a combination device) is critical to take the guesswork out of maintaining these variables. Setting up a fan to operate either continually or on a timer is important as well. Plan on this entire process taking about two weeks to one month. Slight loss in THC levels should be expected during the drying process, but if it is sped up too much, an excessive amount of THC can be lost in the process. Allow as much time as it needs to take to properly dry. The following tips will approximate the steps needed to take to achieve dried harvest, ready for the next steps.
Step 1: Ensure that you have a location with the proper temperature, humidity, lack of light and good air exchange.
Step 2: Set up proper air exchange, such as a fan and temperature and humidity monitoring.
Step 3: Prepare your harvest to dry. If using a drying rack, the buds will need to be spread out evenly. If you do not have a drying rack, then most often cannabis is dried by being hung upside down. This can be done by hanging a line as if setting up clothes to dry.
Step 4: Place your buds or stems out on the drying rack or hang them up with clothespins, twist-ties, clips, or string.
Step 5: Remove the stems and buds when they are dry enough to snap and put them into a tote with a lid.
Step 6: Monitor your harvest closely. Note any hints of mold, mildew, or rot and remove those stems or buds immediately. Alter the conditions in the space accordingly to prevent further issues. Buds can be squeezed to check the aroma and intensity. Keeping a thermometer and hygrometer visible in a tote is a good measure to keep an eye on those critical levels.
Step 7: Turn over the harvest in the totes daily to ensure even drying.
Step 8: Allow fresh air into the totes by removing the lid for a short period of time each day for the first few days after transferring to the totes.
Step 9: Sample the harvest after two weeks to check its ripeness. If not dry enough, leave them up and check a sample every few days until they are ready for curing. Check samples from each of the different jars or containers. Just because one may be ready, does not mean that they all are.
Additional tips for a successful drying process vary from grower to grower. In general, though, it should be noted that it is important that while drying your harvest that it does not get banged around as this can damage the trichomes. If you happen to live in an area where the humidity is too low, use fans sparingly and instead rely more on a humidifier to moisten and move air around. Drying your harvest is not the final step to getting a premium product though. Curing your buds will give them a superior flavor and provide you with a much more fulfilling smoking experience.
Curing
Whether you trim first and then dry, or dry and then trim your harvest, curing it comes next. Curing is the last step in the drying process. Its purpose is to let the chlorophyll that remains in the buds to dissipate (by way of bacterial action) as well as to make sure that the colas are not too dry or too moist. Greener buds have more chlorophyll, which might make them look better, but it actually gives a more harsh smoking experience. The “duller” color indicates less chlorophyll and a smoother smoke. Curing is also intended to manage the degradation of desirable compounds such as terpenes and cannabinoids. Finely cured finished product will have low amounts of chlorophyll and high amounts of terpenes and cannabinoids. How long the curing process takes depends entirely on the moisture levels and management throughout the curing process.
The process is fairly simple but does require a bit of finesse and proper timing. You will need glass containers or jars, or any other sealable container. At least one hygrometer is required, though having one in each container is ideal. A keen sense of smell is also needed to make sure that the process is working as intended. The following step-by-step guide lays out the fundamentals of curing cannabis. There really is not much to it. The difference between a good cure and a great cure is a matter of refining these steps and intimately learning the precise times that your harvest needs to be “burped” and for how long. It also depends on being in tune with the moisture levels in each container. Plan on the process taking up to two months, though in some cases it may be complete after about a month or require longer than two.
Step 1: Find or create an environment in a temperate location where the temperature is around 68-70 F (20 C), and humidity is between 62 and 68 percent. This should all be done in a dark environment as light can cause premature degradation of the flower and negatively impact the quality of it.
Step 2: Place your trimmed and dried harvest into airtight containers. Place a hygrometer into at least one of these containers to monitor the moisture levels within. It should be visible without opening the container. It should also be rotated among containers if there is only one in use.
Step 3: For the first few weeks, open these containers daily (“burping”) for at least 15 minutes. This air exchange allows for off-gassing of compounds created during the curing process and the introduction of fresh oxygen. Scale back to opening the containers every two to three days during the final weeks. Sample the product throughout the curing process to know when it is complete or if tweaks need to be made.
As mentioned, the difference between a good cure and a great one is finesse. Some growers find that they need to burp their harvest for up to an hour a day during the first couple of weeks. Other growers prefer to burp their harvest two or more times daily for shorter periods. In general, the higher the humidity (in that 62-68 percent range), the more often it should be burped or for longer periods. Some growers will burp their containers as little as once per week once past the first few weeks. Those that opt for a lengthier cure over eight weeks, can burp their containers as little as once per month and for as little as five to ten minutes. If the curing process is extended for several months, the burping can cease entirely, or be done extremely sparingly. If the process is extended too long though, flavor and aroma will start to get dull and lose potency over time.
If during the curing process the humidity levels within the container exceed 68 percent, the buds should be removed and spread out onto a drying rack, or anywhere that air can circulate all around them. They should be left out for 24-48 hours before going back into their containers to continue the curing process. If an ammonia smell is detected when burping the containers, it is also an indication that they need to come out and be dried for a while before continuing the process. If there is visible mold noted on any of the curing harvest, it should be disposed of as it has been allowed to get too moist and is now spoiled. Frequent monitoring of the hygrometer(s), and appropriate action as needed, should help to prevent this issue from occurring.
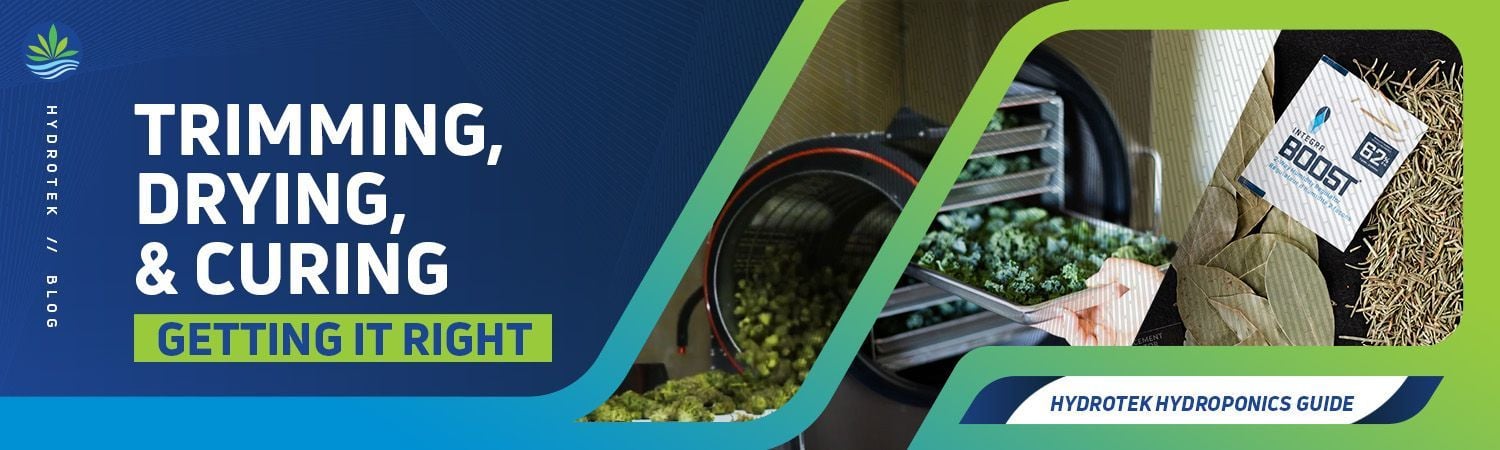
On the other side of the coin, if the humidity level drops below 62 percent, moisture needs to be added to the containers. You can purchase moisture packets which are designed to create specific, targeted moisture levels (such as 63 or 65 percent). Barring that, a small piece of moistened sponge or paper towel can be used, so long as it is not in contact with the buds and is watched closely to make sure that it does not create too moist an environment.
No matter which method you follow or make your own, so long as the curing process results in a gradual balance of oxygen and moisture to create an ideal amount of flavor and fragrance (cannabinoids and terpenes), you can call it a success. The specific strain of cannabis as well as the conditions under which they were grown will have an effect on the taste and harshness, but the curing process has a much greater impact on the final product than any other single variable.


